
22 Mar Mautic Installation Guide: How to Install Mautic Manually Using Cpanel
Mautic Installation Guide:
To install Mautic email marketing automation manually using Cpanel, you mainly required an email address, subdomain, and your Cpanel credentials.
Let’s begin to install Mautic email marketing using Cpanel:
Step 1:
Log in to your Cpanel account.

Step 2: Email Address Creation.
Go to “Email Accounts” under the Email section. Click Create option to make a new email address for Mautic email marketing tool.

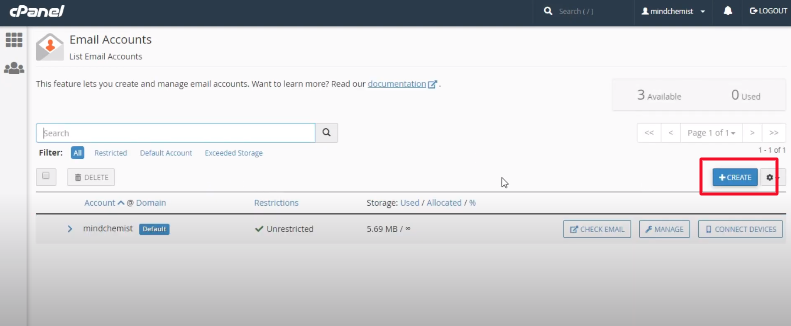

After an email has been created, save your email address and password somewhere to use in the future.
Step 3: Create a Subdomain
Let’s create a subdomain on which you want to install Mautic email marketing tool.
Go to the Subdomains of your Cpanel to create it.


You can create a subdomain with any name.
Here I’m creating a subdomain with the name “email”. So my subdomain will be email.mindchemist.com as my domain name is mindchemist.com.
Step 4: Mautic installation files
Go to https://www.mautic.org/ to get Mautic installation files.
Select Download Mautic under the Release Option from website navigation tab Download.

And you will get a below screen.
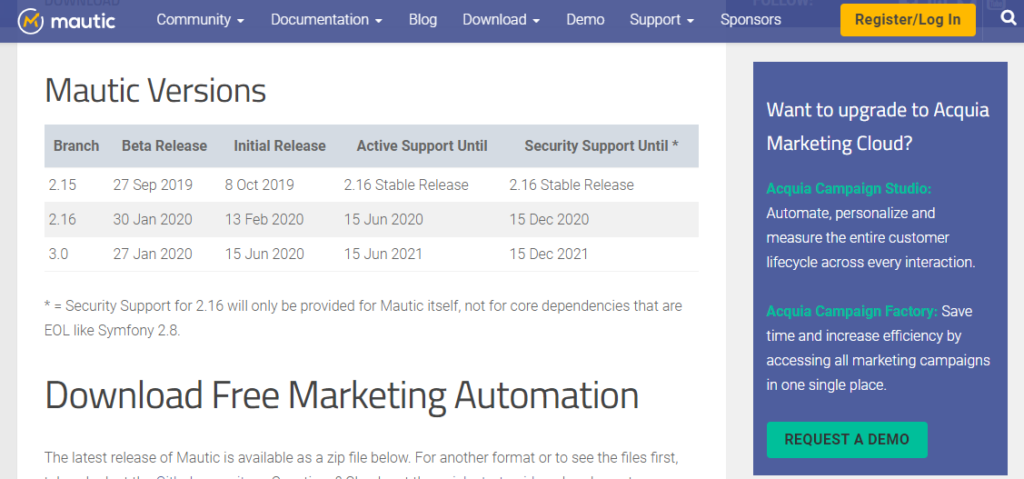
Fill up your basic details and click download and Mautic files will start to download.

Step 5: Once your file is downloaded, go to your Cpanel to create a database for Mautic.
Select “MYSQL®️ Databases” under the Database Option. Create a new database with the name Mautic. You can create a database of your preferred name.
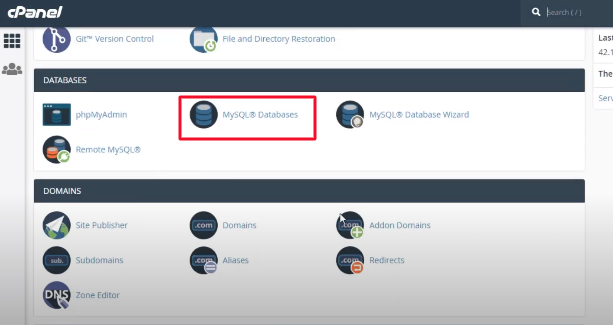

Step6: Create user for your Database:
Go down to ”MySQL®️Databases” and you will find the option of Adding New User to your database.
Create new username and password. Keep in mind that Database name and username should be the same. Save this password somewhere so it will help you in further steps.
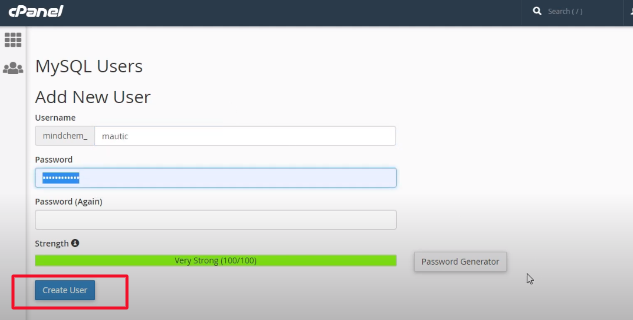
Step 7: Now add the user to the database.
Select your username and database name from dropdown menu.
Here, Username – Mautic and Database – Mautic.
Click add.

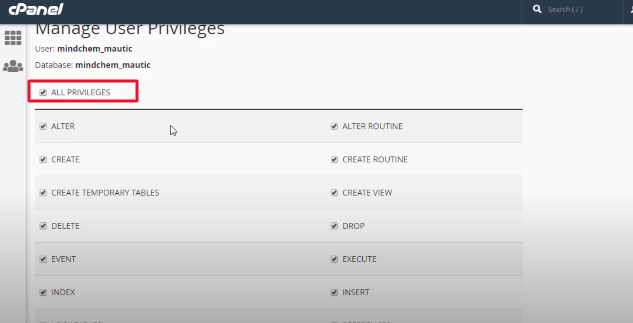
Step 8: Upload Mautic installation files
Go to the Subdomain Root folder in File Manager.

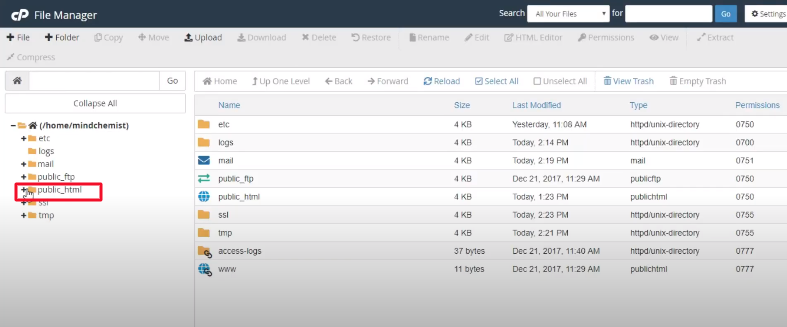

Click upload to add Mautic installation files. Go back to your root folder once the upload is done.
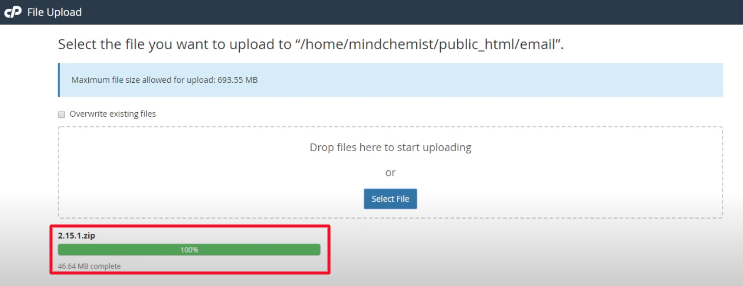
Extract your Mautic installation zip folder.


Step 9: Launch Mautic Web Installer
Go to Your Mautic URL which is your subdomain.

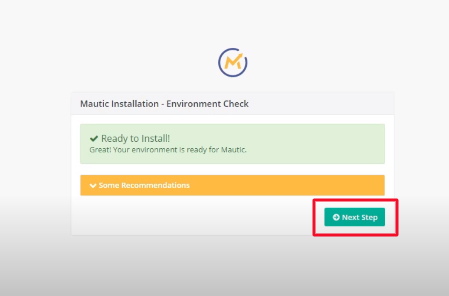
Mautic is now ready to install.
If you get any PHP environment error then please check your PHP version set for domain and upgrade it.
Make database setup by adding created database name, username and password before in Cpanel.

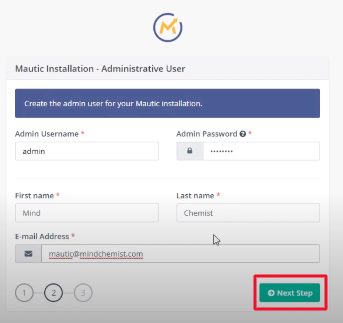
Create a Mautic Administrative User.
Use email address which we have created before for Mautic installation.

And you’ll get your Mautic login screen.


Mautic email marketing tool has been successfully installed using Cpanel.
If you have any queries or need any Mautic related help please reach out to me.
Ask Now
No Comments