04 May Mautic and Amazon SES Setup For Email Sending – Step by Step Guide
In this article, we will setup Mautic and Amazon SES (Simple Email Service) for sending emails.
Amazon Simple Email Service (SES) is a cost-effective, flexible, and scalable email service that enables developers to send mail from within any application.
Let’s start configuring Mautic for sending with Amazon SES,
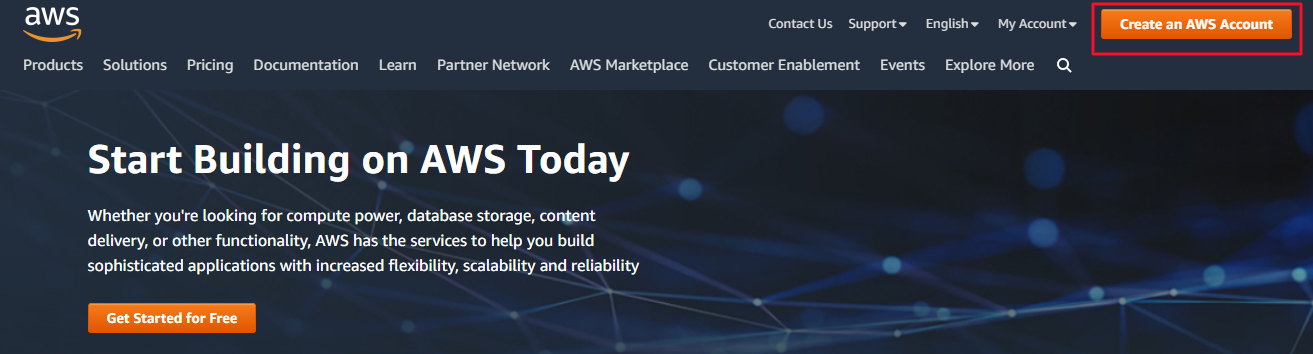
Step 1: Sign up for your Amazon AWS Account.
Create an AWS Account.
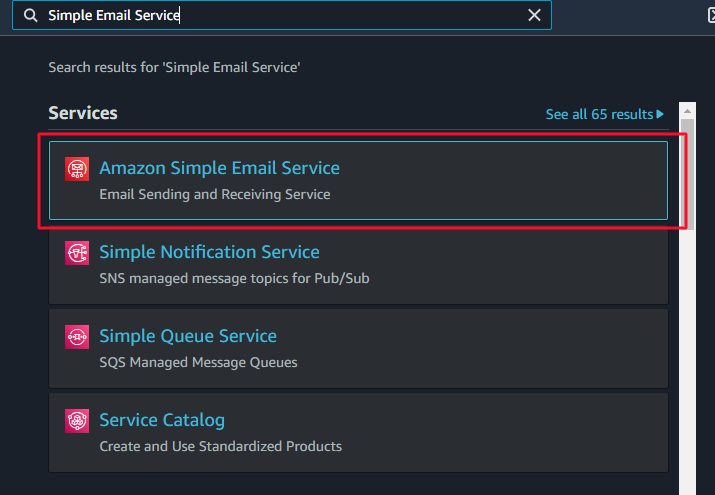
Once you created it, log in to your account and search for Simple Email Service.
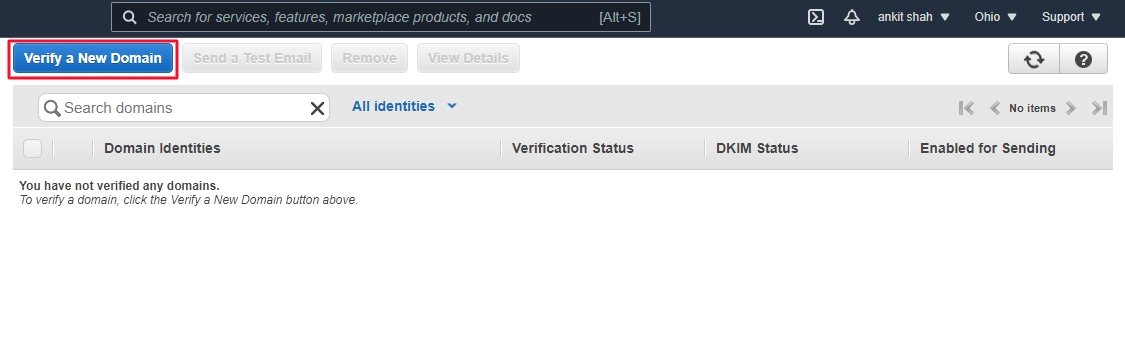
Now you have to verify the domain that you will be sending email from, go to domains from the side left navigation menu.
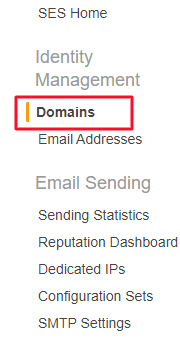
Click to “Verify New Domain”
Enter your domain name you want to verify. And checked “Generate DKIM Settings” which will ensure that emails you are going to send from Mautic are from your domain only and that they are authentic so you will avoid hitting the spam.
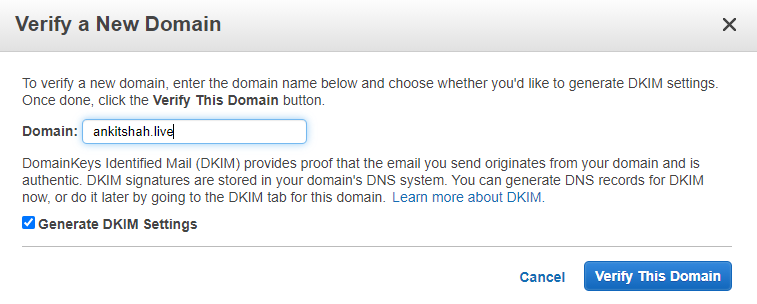
Click “Verify This Domain”. You’ll get a list of TXT DNS records. To verify your domain you need to add it in your domain management control panel.

It takes some time for Amazon to check and confirm that they are valid and the domain is verified.

Step 2: Email Verification
Now you need to verify your email address which is simple and easy to do.
Go to the “Email addresses” option in the sidebar.
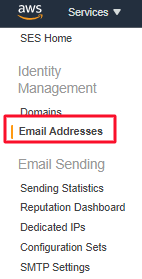
Click to Verify a New Email Address button.

Enter the email address you want to use to send emails from Mautic and click Verify This Email Address button.
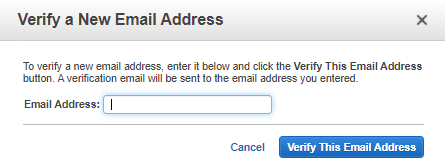
And you’ll receive a verification email from Amazon to the added address with a confirmation link.
Once you verify you can see the verified status in Amazon AWS email address dashboard.
Congratulations! Now you’re allowed Amazon to send & receive emails on your behalf.
Step 3: Create SMTP credential
Now we have to generate SMTP credentials that will allow Mautic to communicate with Amazon to send emails.
Go to SMTP Setting from the Side navigation.
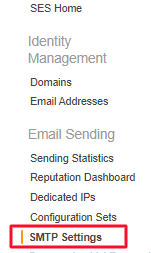
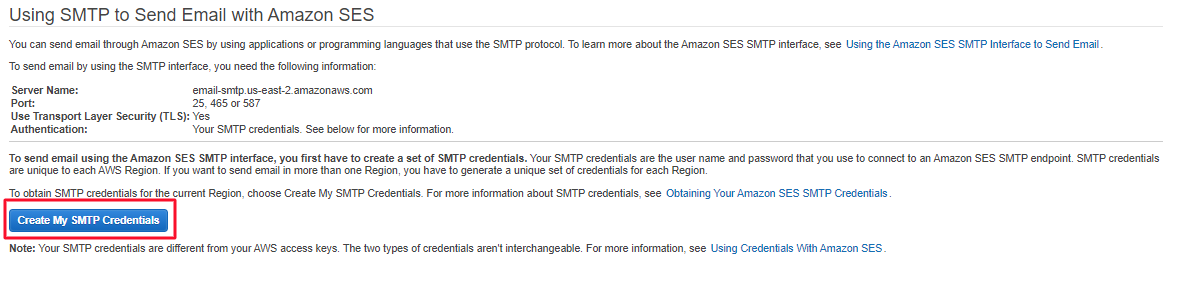
Copy your server and port name somewhere safe. And click to “Create My SMTP Credential”
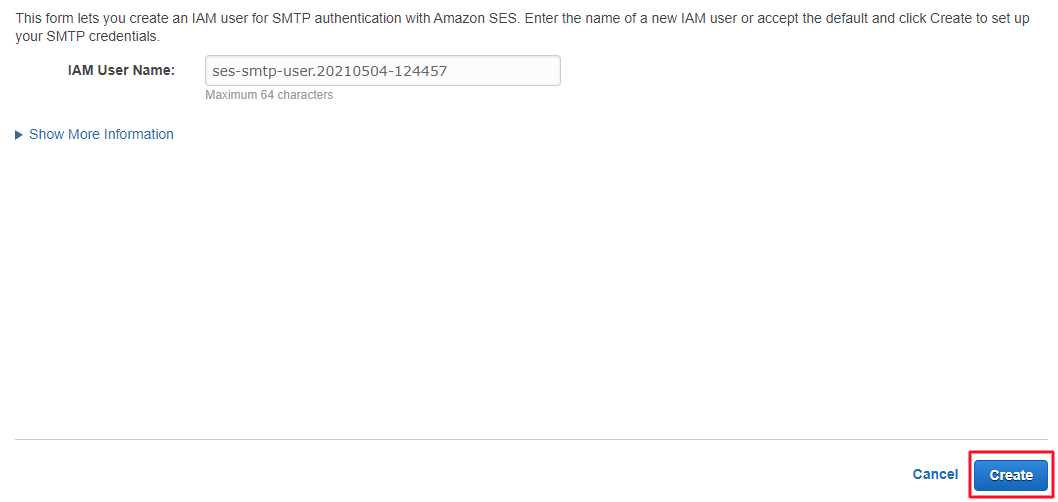
For the IAM username, you can also change it to whatever you want or you can leave as it is. Once you are done, click Create.
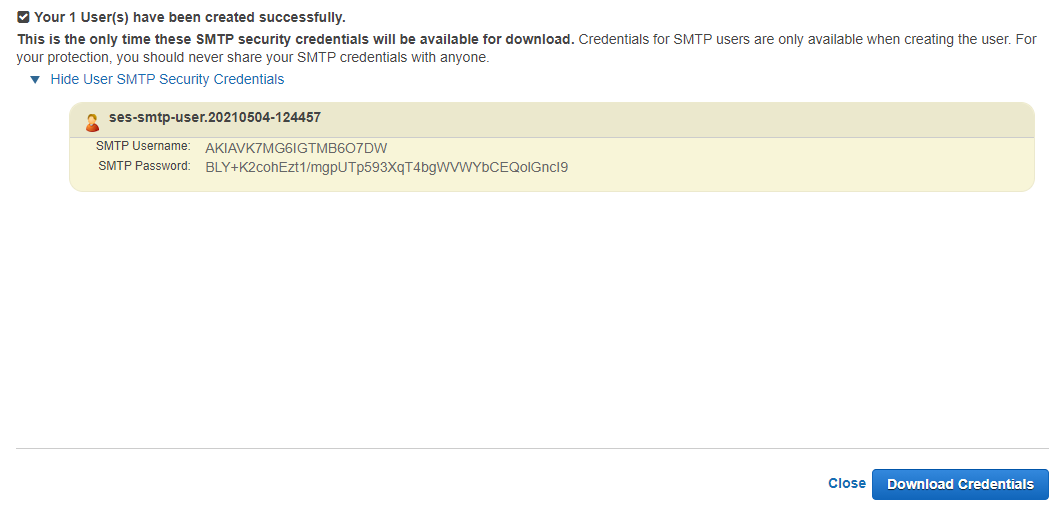
And your SMTP credentials will be generated. I recommend downloading your username and password for future use as you will only be able to see them from the dashboard only for that time, once you close the window, you will lose the option to check for a password.
Now we’re ready to setup amazon and Amazon SES.
Step 4: Mautic Configuration for Amazon SES.
If you haven’t done Mautic installation, here’s a step-by-step guide to it.
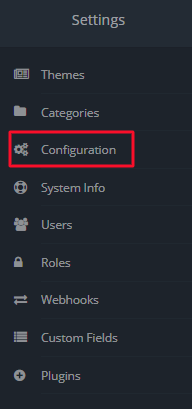
Go to Mautic Setting from the top right corner and open the Configuration page.
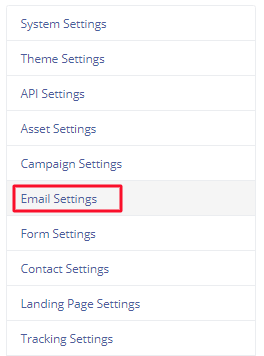
Open the Email Settings tab from the sidebar. Select Amazon SES SMTP from under “Service to send mail through”.
Add your SMTP username and password that you created from Amazon aws. Click apply to Save it.
Now click to “Test connection” button to verify that everything is working correctly.
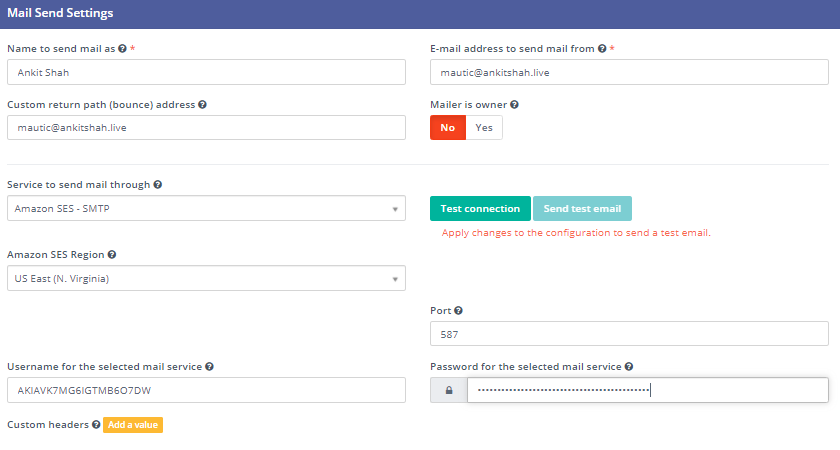
To check the configuration is done correctly or not, you can click the Send test email button.
This will send a test message to your email address.
Your Mautic and Amazon SES setup is successfully done if you receive a message and you can start sending emails from your instance.
If you have any queries or need any Mautic related help please reach out to me.
No Comments