
24 Apr How to Create and Set up Mautic Campaigns?
Creating campaigns using the Mautic campaign builder is a central part of the marketing automation process.
A Campaign is a marketing activity that lines up Components and Channels through which you can distribute your content in a planned deliberately timed approach to meet explicit business targets.
The campaign builder is the heart of any marketing automation campaign. It allows you to define how Contacts enter the email campaign workflow, and what happens at every stage after they enter the workflow.
One of the primary advantages of the Campaign workflow process is the ability to predefine these workflows and have them reply automatically to Contacts. Mautic campaign builder automates and reduces the amount of time required for manual contact activity and improves contact nurturing procedure.
How to create campaigns with a Mautic campaign builder?
But before creating a campaign in Mautic, you must ensure that you have all the following set up:
- Create a Contact Segment or a Form for your Campaign. If you already have an existing Segment or Form to use in campaign, and make sure they’re up-to-date.
- Create any custom field which you need for your Contact profile.
- Set up relevant channels such as Text Messages, Email, Focus items to connect with your Contacts.
- Create necessary Assets, Landing pages, or other Components that you want to use for your Campaign. If you’re using assets in a campaign, ensure that you upload them before creating your Mautic Campaign.
Now let’s start creating mautic campaign,
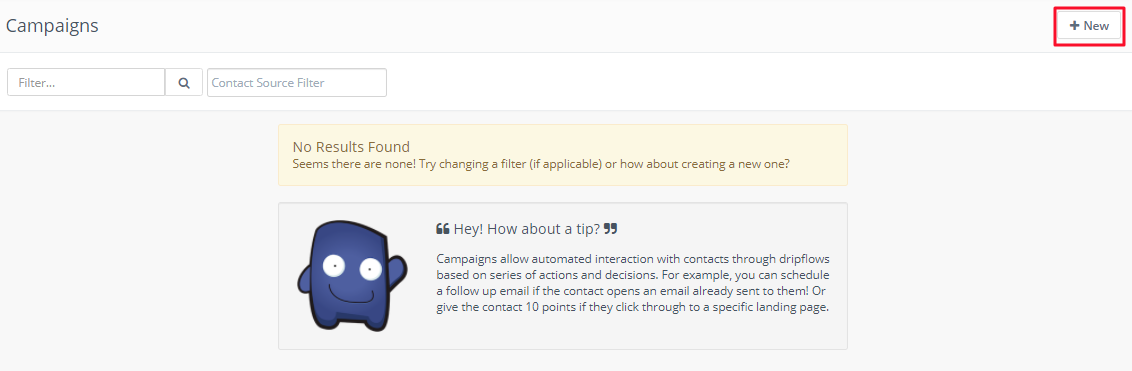
Step 1: Login to your Mautic account. Go to the “Campaign” option from the left navigation menu. The Campaigns page appears.

Step 2: To create New campaign click on “New” Option.
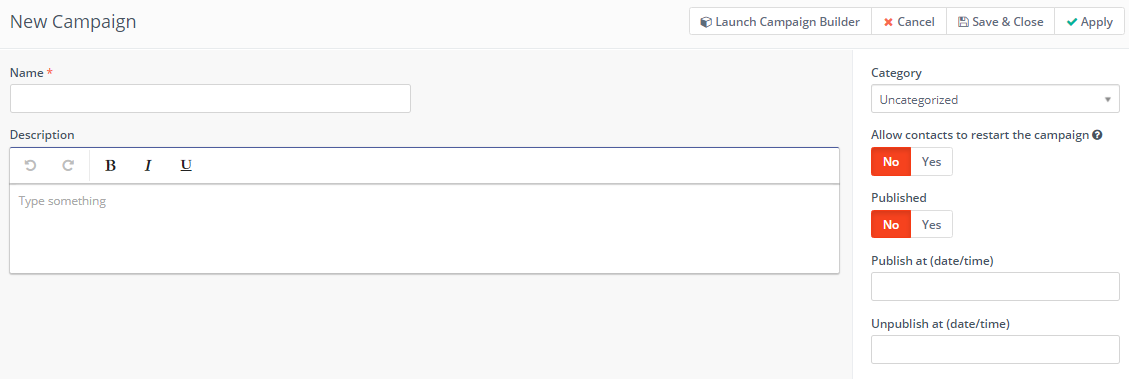
Add name and description of your campaign.
Optionally, you can also set the following properties:
Category: Categories help you organize your Campaigns.
Allow contacts to restart the Campaign:
Enabling this option allows Contacts to go through the same Campaign multiple times. You can enable this option if you’re building a Campaign for a recurring message (birthdays, subscriptions) or transactional operations.
Published: Toggle switch to publish or unpublish the Campaign. Please ensure that you don’t publish your mautic campaign until you’re actually ready for it to go live.
Click “Launch Campaign Builder” to start creating your email campaign.
Step 3: In this step, you can define the Contacts you want to include in your Campaign. Campaigns can be triggered in two ways such as Contacts joining a Segment, and/or submitting Forms.
Choose from where your contacts will put out in the mautic campaign.
Contact segments: Choose the “Contact Segment” option if you want to send your email Campaign to a specific group of your Contacts that share certain attributes such as ‘contacts located in USA’ or ‘who visited a Sign-up page’.
Contact Forms: Choose “Contact Forms” option if you want to start the Campaign when the user completes a specified Form.
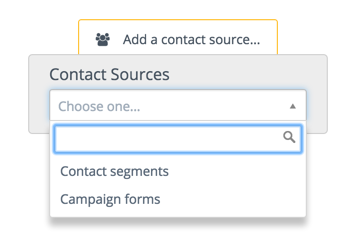
Select your contact source of the campaign. Here, We’re selecting Contact Segments as our Contact Source.
If you don’t know how to create segment and form, read our step by step guide on how to create Segment and how to set up forms.
Step 4:
Now click the grey selector button to add an event to your Campaign. A Campaign event includes actions, decisions, and/or conditions.
Select “Action” which will be triggered every time new contact will be added under our selected segment every time user.

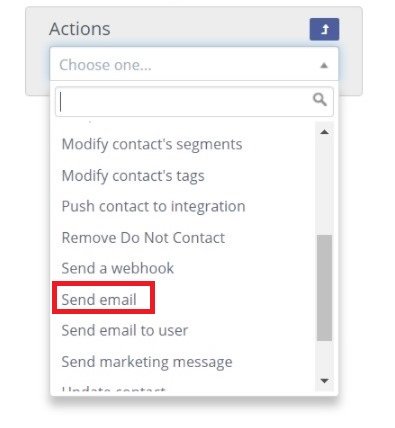
You can send them an email by selecting the “Send Email” event. You will get the below display.

Give Name to your event which will show in your mautic campaign builder.
Now to configure email, enter email name and create “New email” if there is no email created previously.
Also, select when you want to execute this event, whether your email should be sent immediately after contact enters in Segment or at a relative time period.
And click “Add”. Created action will be added to a campaign.
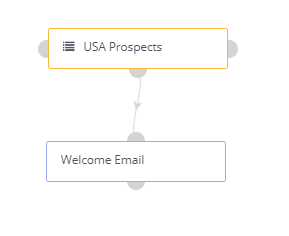
Step 5: After adding all the required events to your Campaign, close the Campaign Builder and click Save & Close to save your changes.
And simple Welcome email campaign for the contact segment has been created. However, You can also build complex campaigns by using Mautic Campaign builder.
If you have any queries or need any Mautic related help please reach out to me.
Ask Now
No Comments